Last Updated on August 3, 2022 by Dean Anderson
Whether you’re a rookie or a seasoned camper a few camping tips are always welcome to help get the best out of any trip.
These aren’t hard and fast rules just a bunch of common sense ideas and snippets of knowledge I’ve acquired while camping on my own and with my family over the last 20 years or so. Plus there’s a few I’ve learned from other folk around the web.
Some of these camping hacks will be obvious to regular campers so feel free to contribute your own ideas and we’ll add the best to the appropriate list. More tips will be added ongoing as I remember them or pick new ones up on my travels.
Rather than a single long list these camping tips have been divided into shorter categorized lists so you can get to the subject you’re interested in.
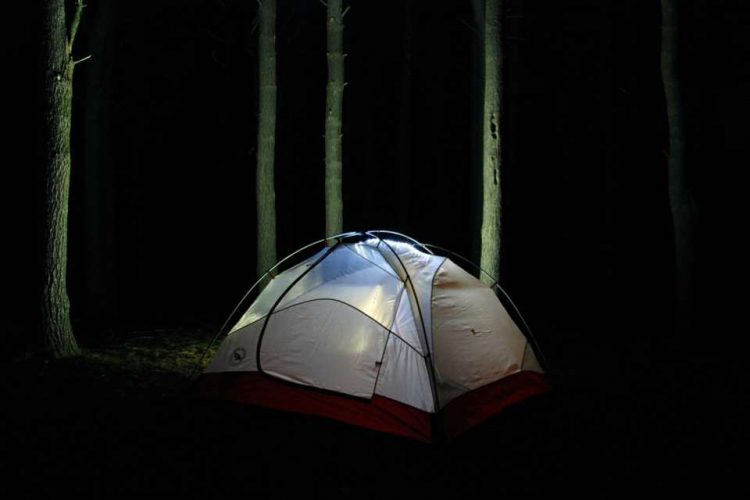
The Campground
- Choose wisely where to pitch your tent. Unless you’ve been allocated a numbered plot you should take care when choosing where to site your tent. Where does the sun rise and set? You may not want to be woken by bright light or direct heat of the sun which can make a tent unbearable first thing. Likewise you might enjoy the view of a sunset in the evening. Choose wisely using any available trees as potential shade, this will also help with insulation.
- Use natural windbreaks.
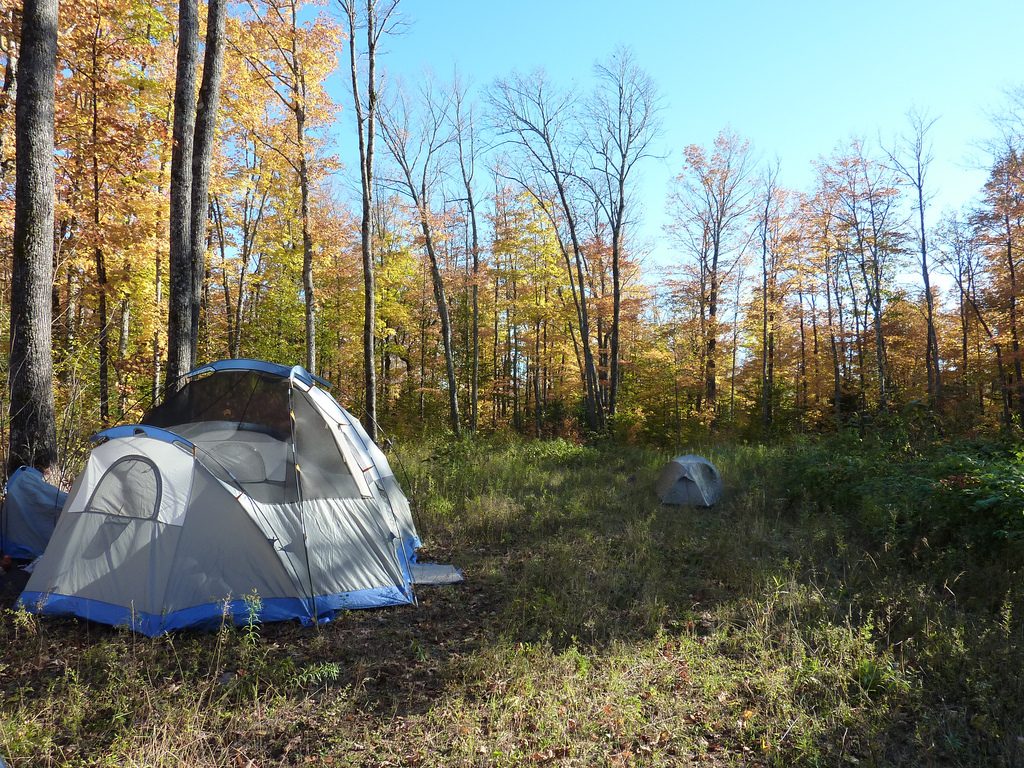
Trees are also great for cover in windy conditions. Check weather reports and setup your tent in an appropriate location. Also if you know it’s going to be windy checkout your nearest neighbors before pitching. You might not want to be down wind of BBQ smoke, campfire smoke or even cigarette smoke. - Consider the level of the land. Also survey the level and slope of the campground, the topography that is. In my early camping days we walked onto a campsite late at night and instead of being close to everyone else that had already pitched we located ourselves at the bottom of the field. Bad move. Well it rained during the night and we woke to find ourselves under a couple of inches of water. It ruined the weekend as all our gear was wet too. Had we pitched just a few yards up the field we would have been fine. An early lesson learned and one you can avoid. Don’t pitch at the bottom of a field if the ground is already soggy and especially in smaller 1 or 2 person tents where you can’t get away from leaks.
- Personal space. This may be a personal one but I don’t like to be too close to my neighbors. Even if they are good friends. Just that extra few feet will keep me happy, away from couples arguing, crying kids or some dude snoring. Personal space even on the camp site is a big plus for me and maybe for you.
- Know your etiquette. If you choose to stay on an established campground and located close to other people make sure you understand camping etiquette. Don’t be the loud group that upsets everyone else.
Tent Camping Tips
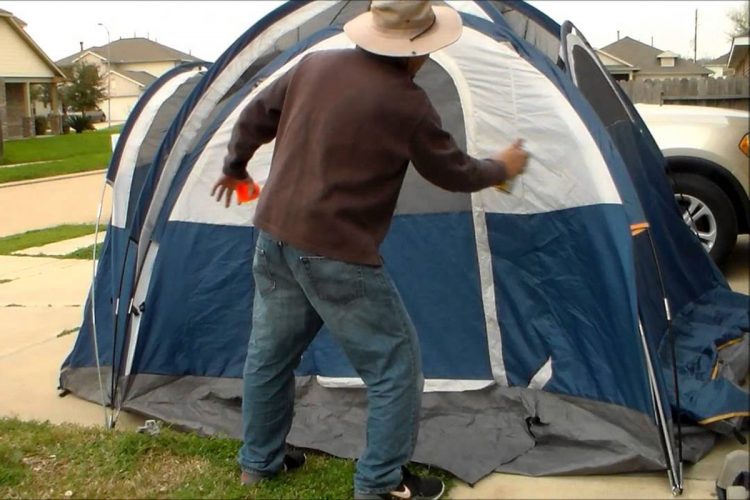
- Chose the right tent. Of course you’ve already chosen your perfect tent haven’t you? If not see our tent buying guide. In short you need a tent large enough to home the group you will be generally camping with plus your gear. A tent with spare vestibules is always good for this. It also needs to be suitable for the weather conditions for the state(s) you intend to camp in. Anyway see the guide for more details.
- Test setting your tent up. Save on family arguments or looking like a total tool in front of everyone else by testing the setup in your backyard. You’ll also make sure you’ve got everything. Then you can turn up like a total pro and look like the man when you setup with ease before your buddies.
- Get a tent footprint. Pitch your tent on top of a piece of tarp, groundsheet or dedicated footprint. It will keep you dry and puts another barrier between you and the cold ground. It also helps prevent the tent floor from getting nips and rips from the camp ground.
- Waterproof your tent. At the beginning of every season purchase a can of silicone sealant and on the first setup of your synthetic tent cover it from top to toe. Spray in a grid like pattern, left to right then top to bottom. Ensure you get the zipper seams too. This 30min task can save you from miserable times being leaked upon during the day or even worst at night. Many sealants also incorporate UV protection to prolong the life of your tent. We have more advice on waterproofing your tent here.
- Get some quality tent pegs.
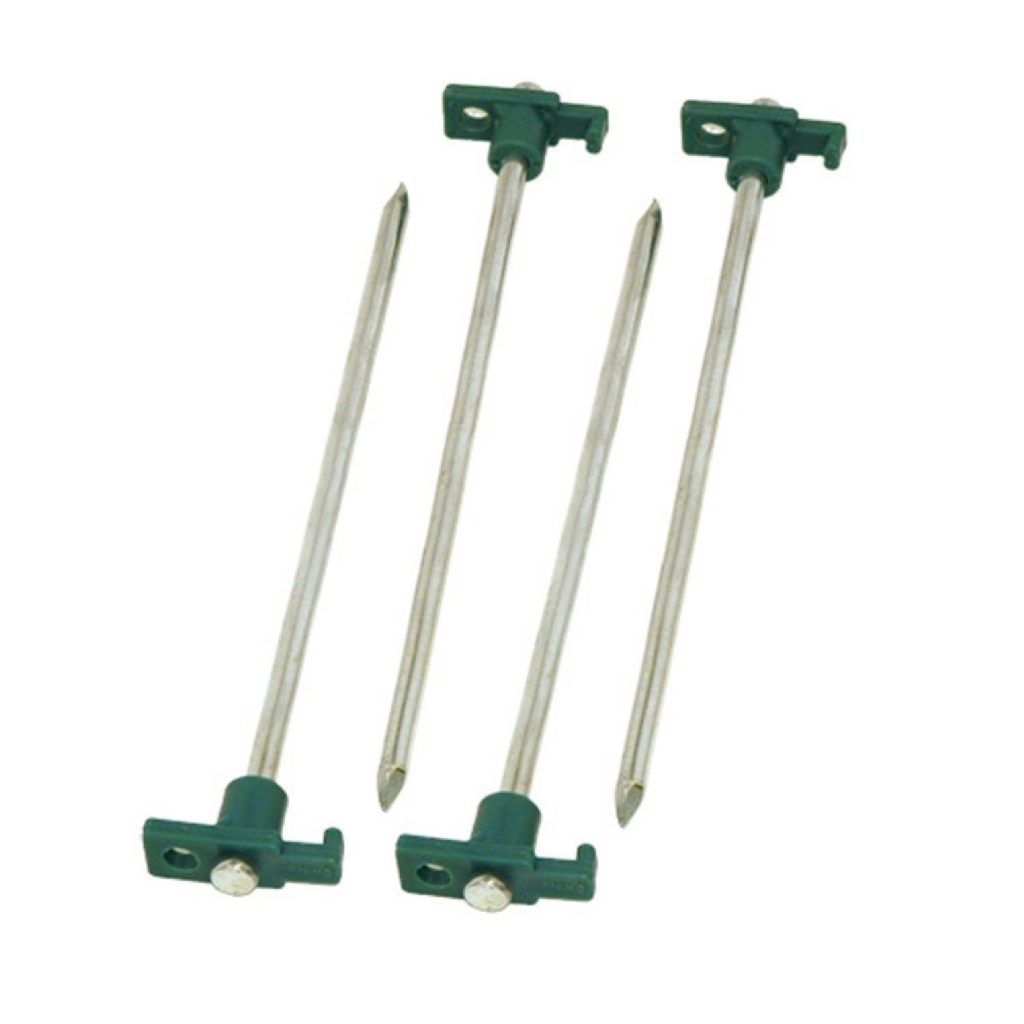
The cheap wire tent pegs you generally get with most tents are fine for the first few camps but then they’ll bend. They’re also awkward on your hands to pull once they do. You can foresee this and purchase a set of decent hard ground pegs, the oversized high visibility ones with puller eyelets are good as are the likes of MSR Groundhogs. Get them from a store prior to your vacation or you’ll pay a premium on a front country campsite or you’ll have to go without if you’re Boondocking. Of course you’ll also need a rubber mallet and tent peg puller to make life easier. - Dry your tent out. When putting down your tent always ensure it’s dry before storing away. On a couple of occasions it was really hammering it down with rain and we just stuffed the tent in the trunk of the car rather than properly folding it back into it’s bag. On returning home though we made sure we dried it out thoroughly before packing away. If not and we learned through experience your tent will smell and it can grow mold on the inside. Not great, especially not if you have asthma sufferers. There’s some more tent maintenance advice here.
- Leave the doors open. When you take down the tent at the end of your trip leave the zippers on doors or windows partially open. This will allow air to escape more easily and the tent just might fit into that tiny compression sack it came in.
Getting A Good Nights Sleep
- Get a good sleeping bag. Don’t skimp on a decent sleeping bag. In summer you’ll be too warm and in winter, well you’ll have a poor nights sleep and won’t want to camp again. Also if you’re buying for your family go for the same level of quality and even the same model throughout. There’s nothing worse than kids arguing over having different gear, different color etc. That way you can also judge whether they really did have a cold night or not etc
- Take a spare blanket. When going as a family we always take a large picnic blanket. This can be spread across us all if required and if not well it can be used for picnics while hiking. This tip is thanks to my 9 year old girl Eve, she’s not wrong. It can also be used in the middle of the night when your 4 year has an ‘accident’ in the sleeping bag.
- Raise beds from the floor. Don’t sleep directly on the floor. Whether you put a simple roll up foam pad underneath your sleeping bag, a self inflating sleeping pad, inflatable mattress or better still a camping cot, anything is better than nothing. It will insulate and raise you from the ground cold which is present even during summer. If you’re going to buy and inflatable mattress get a good one or you’ll spend your entire vacation forever pumping it up and worse still wake up on hard ground. A bad nights sleep is a sure fire way of spoiling your vacation.
- Make a hot or cold water bottle. Don’t be too hot or too cold in your sleeping bag. Pre-fill a decent Nalgene water bottle or similar with hot or cold water as desired. This will get your sleeping bag to the desired temperature before you hit the sack.
- Consider a propane camping heater. I know we’re all meant to be tough and travel light but the reality is we don’t all have to be bushcraft experts. I’m happy to keep my family and I warm using all that modern life has to offer. Check out these camping tent heaters.
Let There Be Light
- Take plenty of light.
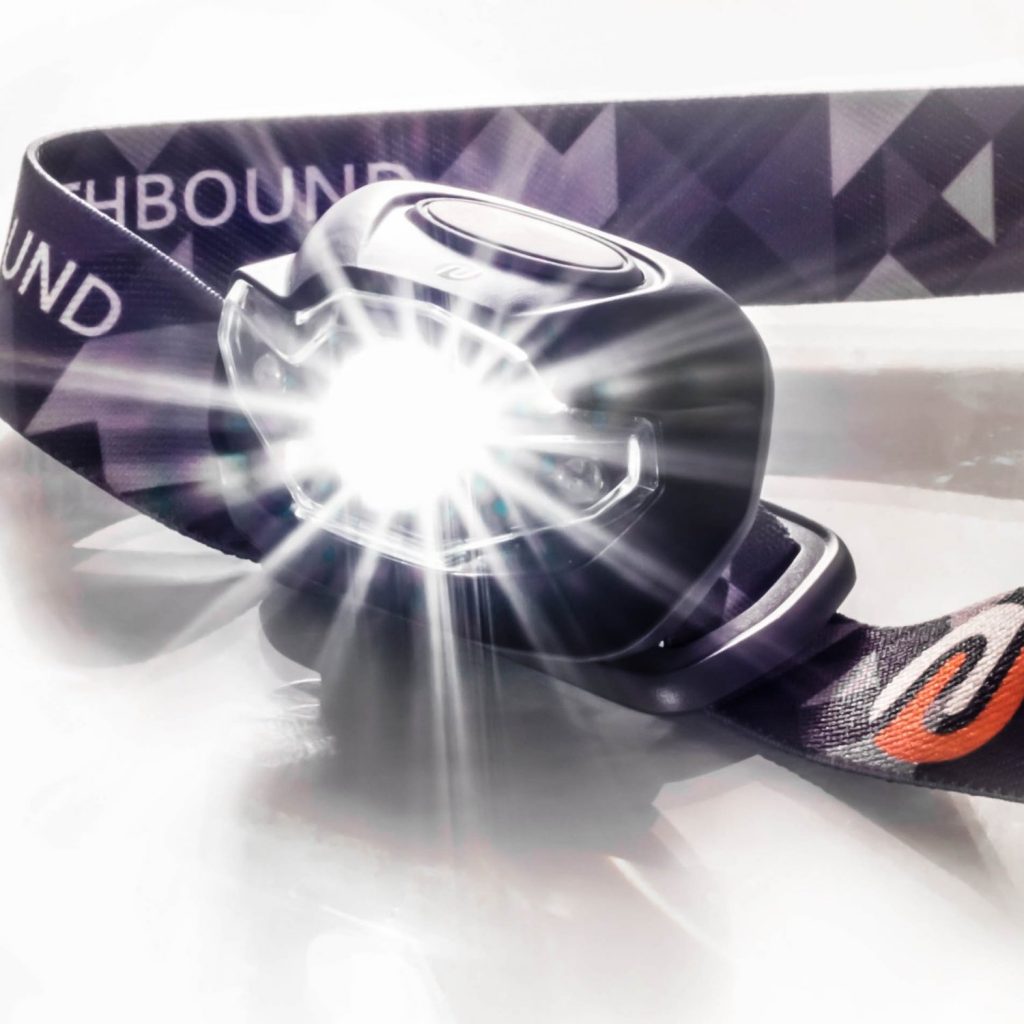
First things first, you can never have enough light. So if you find yourself thinking should I take that extra flashlight or lantern the answer is yes, it’s a no brainer. At some point, on one of your trips you will need it. Obviously if you’re camping alone, perhaps with just a backpack you’re going to have to prioritize your camping gear. If not bring flashlights, headlamps, lanterns, a wind up one is always a good idea and don’t forget spare batteries for the lot. Just keep them ready and waiting in a storage bin. - Solar garden lights. The cheap stake in the ground style solar lights available from the likes of Walmart for a couple of bucks are great for camping. You can put these all around your tent at the foot of guy ropes. They help add low level ambient light to your campsite, prevent tripping over wires and if they get damaged are cheap enough to replace. Buy some.
- Leave a light on in the tent. Should you leave your tent in the evening then leave a torch or lantern on at low level. Then when you return in the dark the light will help you to adjust to the darkness of the tent and not trip on anything. A rechargeable or wind up lantern is perfect for this.
C’mon Baby Light My Fire
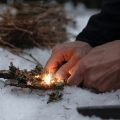
- Have a fire lighting backup.
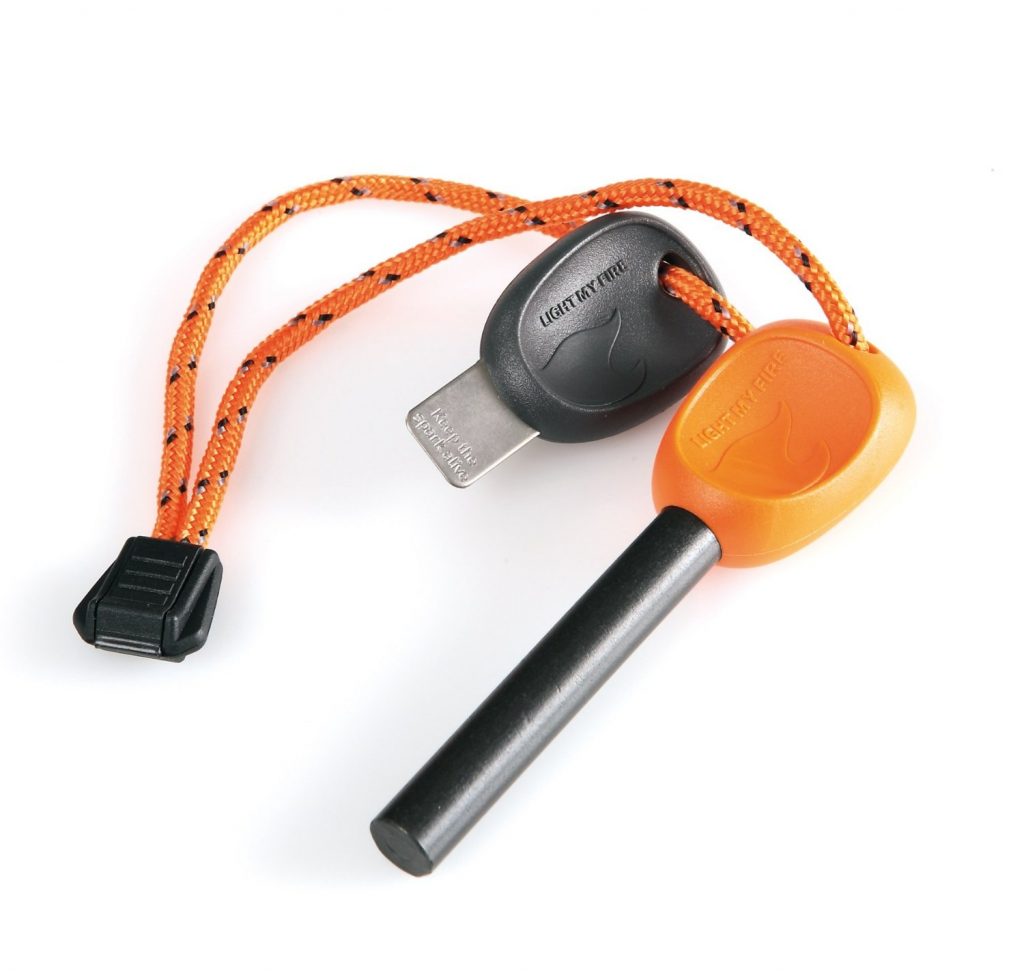
I’ve come to learn that when you’re camping you can never have enough ways of lighting a fire. Chances are you’ll mostly only ever rely on one method but having a backup is just common sense. Personally I take matches, a Swedish Fire-steel, a lighter and a piezo ignition stove lighter. I use the Fire-steel all the time and save the others for backup, it’s on my list of essential items to bring camping. They can all go in a storage bin in a sealable sandwich bag to keep dry. With those I also pack cotton wool and a small tub of Vaseline. If it’s particularly cold or wet cotton wool with a little Vaseline stuck to the side of small pieces of kindling will take light really easily. This is kind of the man-made equivalent of using ‘Old Mans Beard’ (Clematis plant) and lighting it with sparks from a fire steel. If you don’t have a Fire-steel get one on your Christmas gift list, they’re cheap and a really manly gadget too. - Use nachos to get your fire going. Struggling to get your fire to take hold of larger pieces of fire wood then add a few nachos. The fat content burns really well and gives instant flames. Might also make you think twice about how many nachos you eat!
Pack The Right Gear
- Gaffer Tape. First timers, a roll of Gaffer Tape should be in your list of essential items to take camping. You can repair fly sheets, ground sheets and splint tent poles with this stuff. I’ve even had a couple of pals use this stuff as a band-aid, though I wouldn’t recommend it. Buy a roll today.
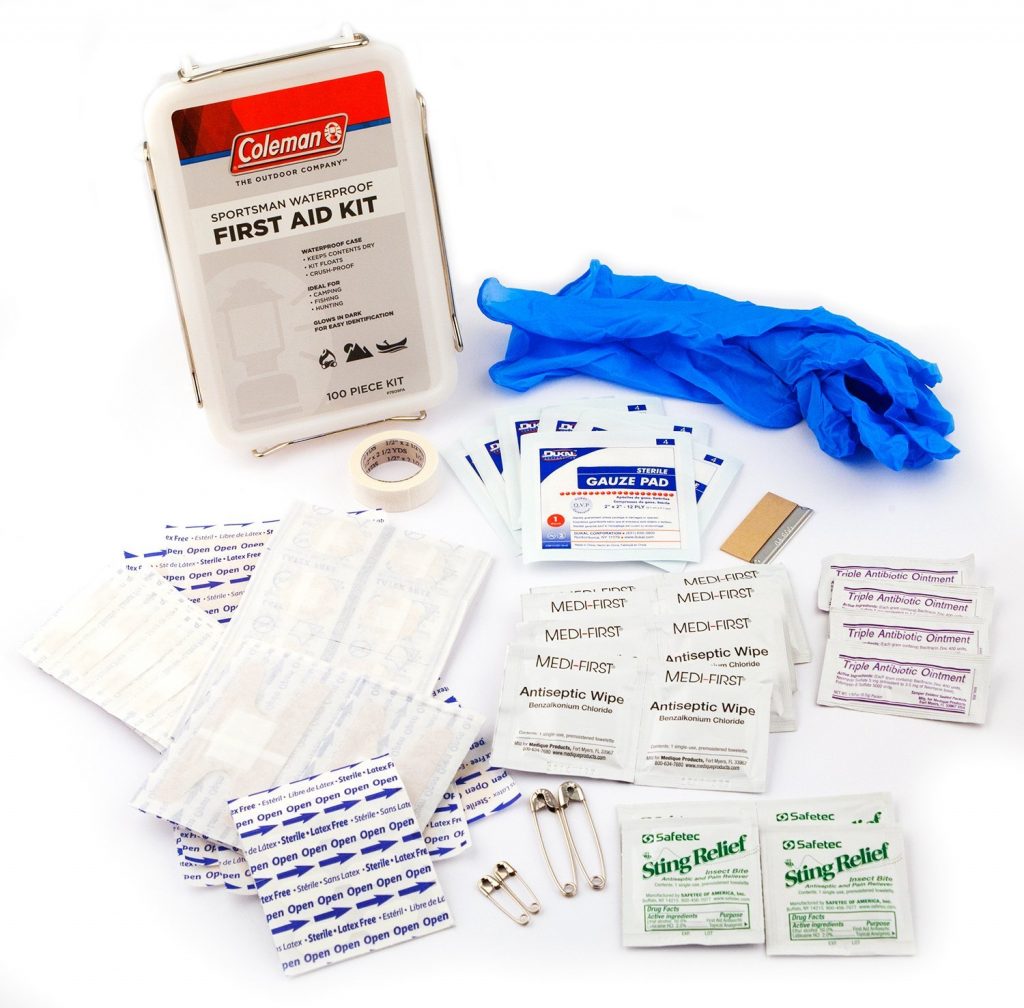
- Take a first aid kit. More than likely you’ll never need to use it but it’s worth having especially if you’re taking the kids. Our basic homemade kit includes headache tablets, antiseptic cream, bandages, band-aids and children’s medicine for fevers. For convenience there are also ready made kits from the the likes of Coleman.
- Check your camping gear. Upon returning from any trip before you store camping gear back in the garage take time to check and clean equipment. If like me you organize equipment into bins you can for instance go through cutlery, clean it and ensure it’s all present. Was there anything you needed while away? Now’s the time to source and add it to your gear. Corkscrew, tin opener, extra lighting, you get the idea. Yes for most this will be a totally boring chore but you’ll be glad you did on your next trip. If like me you’re really sad you may even want to clean the dirt from your tent pegs.
- Get a pocket knife.
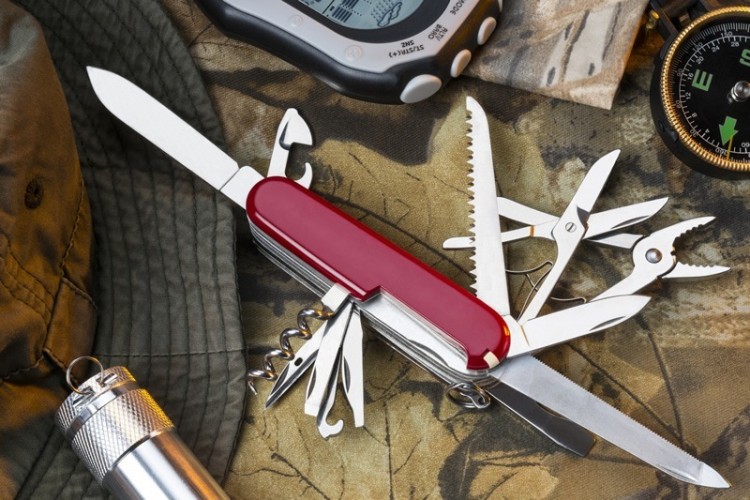
Keep a decent pocket knife or Swiss Army Knife on you at all times. This and my Fire-steel are the two tools I keep on me the whole time. With a decent multitool you’ll always be able to open a beer or wine bottle, if you can do that you’ll make friends easily. As well as that you’ll have a tool that can cut stuff, sharpen stuff, screw, unscrew, pick teeth, open tins, you name it, it’s quite simply essential. Victorinox and Leatherman make some of the best. - Take a cooler. Ideally take two if you can. We have a recent Mobicool ice box with fans that we can plugin to the car on the way and then an old beige and orange Yeti that’s been in the family for years. They both do their job. The idea of taking 2 coolers means you can store meat and other more temperature sensitive supplies in a box that you’re not going to open as often. Put all your beer, soft drinks and candy in the other. We also freeze meat prior to putting in the ice box. Also take plenty of freezer blocks. If you’re on a site rather than out in the wilds you can also use the onsite facilities to refreeze them. We constantly rotate so that you always have freezer packs being frozen and a set in the cooler. Remember the science behind warm and cool air too. Hot air rises and cool air lowers so put your freezer packs closer to the top of the box. Lastly inside your tent position your coolers in the shade and not where sunlight can hit it directly. You could checkout our recent cooler reviews.
- Take plastic bags or garbage bags. Another one for the novice. Once it’s time to clear camp and pack your stuff away a few extra bags for the kids dirty or wet gear is really useful. Put those wet sneakers in a small plastic bag or all your laundry in a bin bag. Cram them in the car, job done.
- Tables and chairs. Yes I know it’s obvious but you’d be surprised how many families we go camping with that don’t have dedicated chairs for the kids or try to prepare food, cook, play games all from a single table. Save on any arguing and get a chair each. Oh and don’t go for the $10 specials at Walmart. Those flimsy aluminum legs and folding mechanisms will fail on you and you better hope the kids don’t have a cell phone camera when it does. Buy cheap buy twice.
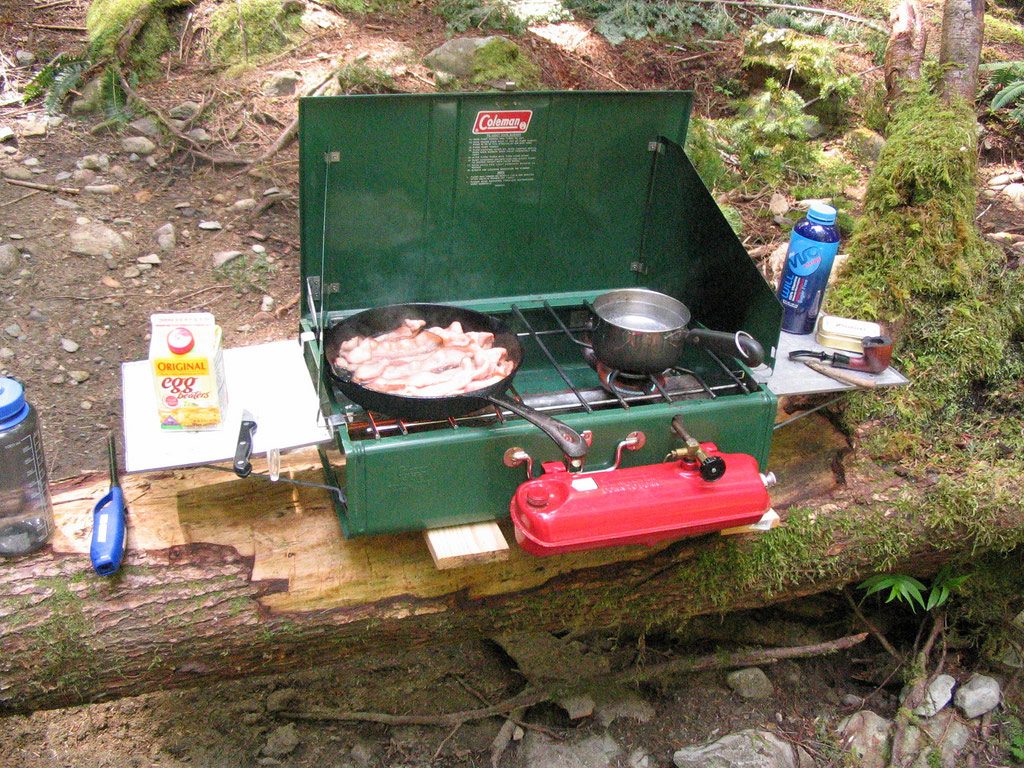
- Two burner stove. For family camping I highly recommend purchasing a two burner stove. Meal times with your family should be one of the best parts of the day. A dual burner will make meal times far simpler and less stressful for the chef. If it’s got a grill built in like many of the Coleman models then all the better. Make sure it has a built in windshield too or you’ll be cooking forever. For those short on camping meal ideas here are a few suggestions. In really windy conditions I also still take my old CampingGaz Twister as you have more control over the propane pressure and a kettle will boil in no time. On backpacking trips or camping alone a single stove is all you need, check these out.
- Take an umbrella. Unless you have a camping canopy covering your cooking gear then take an umbrella. The amount of times I’ve had to cook in the rain while everyone else stays dry in the tent is unreal. A decent sized golf umbrella will keep you and your food dry.
Cooking and Food Related Camping Tips
- Prepare a meal in advance. For the first night on camp have a meal for the family ready prepared that just needs warming through. A cooked chilli, curry, stew or spag bol is ideal for this. After a long journey and setting up camp it will mean getting down to relaxing with a beer much quicker. I used to think this wasn’t what camping should be and that everything should go through the stove with nothing ready prepared. What can I say I’ve got over my man issues and chilled out.
- Change it up. Hey we all love bacon, sausages etc but not for every breakfast or meal. Have some alternatives pre-planned. Pancakes are always a favorite as you can accompany them with sweet or savory. Checkout these breakfast recipe ideas.
- Freeze your milk. If you take milk with coffee, tea and cereals consider freezing it the night before you go camping. You can then store in your cool box on the journey there and come morning enough will have melted to use but it will be as fresh as can be. You can prolong lots of food and drink with this simple method.
- Create a food larder. It’s a good idea to create your own camping larder in a bin that you top up each time you return from a trip. This should generally be filled with dried or canned goods. We pack noodles, rice, beans, lentils, pasta, herbs, spices, sugar, packet soups, tea, coffee and hot chocolate. I hope we never have to cook those lentils.
- Enamel cookware. As well as a bunch of odds and sods we’ve picked up on the way all of our family (5 of us) have an enamel plate, cup and bowl each – our own mini mess kits. They retain heat better than aluminum, they’re robust and don’t flavor the food on your plate. Get some. A slightly cheaper alternative might be some melamine cookware. You’ll also need some decent camping pots and pans to actually cook the food in.
- Take a wind break. There’s nothing more annoying than the wind blowing your flame out whilst cooking. Surrounding your cooking area with a cheap beach wind break is a good solution. There are more expensive options like the Coleman wind breaks but a cheaper one will be fine. With wooden ones that have been hammered into dry ground be careful when pulling out. Don’t be tempted to bend as the cheap wood will break. If it’s stuck pour some water at the base of the stakes and wait a few minutes, then they’ll slide out easily.
- Add rosemary to your fire. If you’re cooking on the fire add some rosemary or similar herbs to add a delicate taste to your meat. Works particularly well with chicken.
- Take a roll of tin foil. Aluminum foil is an essential item to take camping. It’s great for both storing food and cooking with it. Wrap your meats or fish up in foil with with a few herbs and you’ll have succulent results every time and no burning.
Health & Personal Care Related Camping Tips
- Treating mosquito bites. Prevention is better than cure but if you do find yourself getting bit by a mosquito and don’t have a dedicated treatment then dab on a blob of toothpaste. It will sooth the wound nicely. Just let it dry until it brushes off. Toothpaste or baking soda draws out the toxins making it less irritable.
- Burn sage on the fire. Sage is a natural mosquito repellent so occasionally adding a few sprigs to the camp fire will help keep them at bay. It also works with midge’s which I found to be a real problem in the north of the UK, Scotland specifically. The same principal also works with lemon balm apparently but I’ve never tried that.
- Let someone know where you’re going. You might not be going away with family or friends so let someone know where you’re going and when you plan on returning. That way if things do go wrong help will be at hand.
Keeping The Kids Happy
- Don’t let them get bored. Kids get bored. Doesn’t matter where you are with them or how great a day they’ve already had it will happen. So take stuff to do. We take a football, baseball and bat, Frisbee, water bombs and an extendable fishing rod. We also take craft stuff like coloring books, loom bands, generally small light stuff that we can fit in the car.
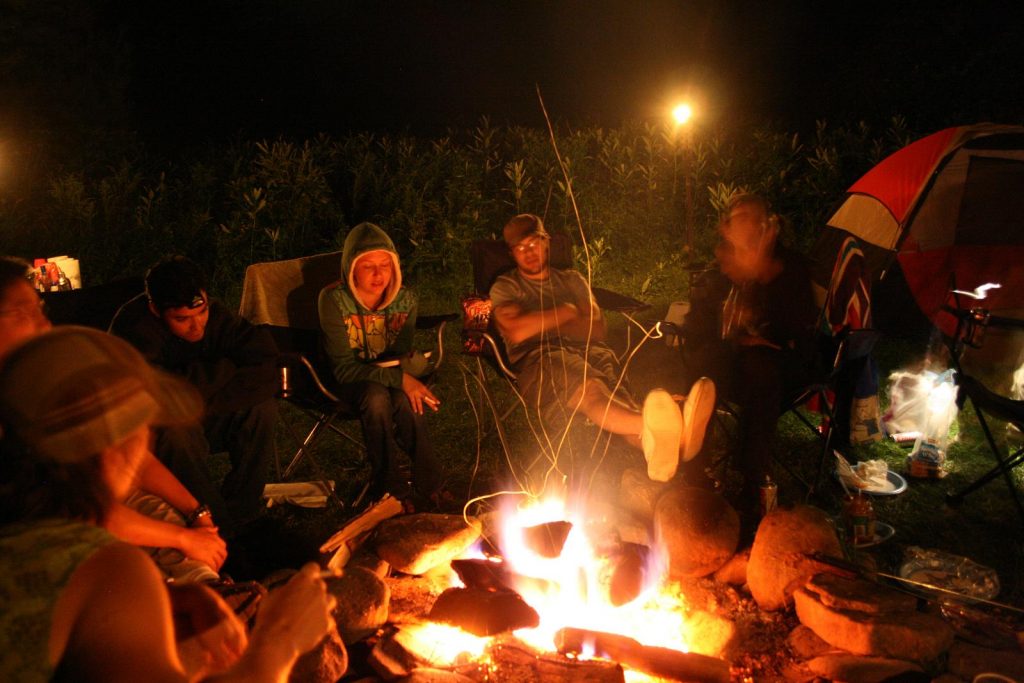
- Take some marshmallows. For me the best part of camping is the fire watching at the end of the day and listening to some good music. To really enjoy it you’ll want the kids to settle down. To achieve that take a bag or two of marshmallows and some wooden kebab skewers. Let the kids wave them over the fire and enjoy eating them. For every 1 they enjoy 3 will end up burnt, in the fire or on the ground. Before you know it, it will be bedtime. This activity will also teach them to have respect for the fire. That is of course if the campsite you’re at allows fires, we only generally aim for ones that do.
- Melt some Starburst on the fire. You heard it, I must admit they’re absolutely delicious even if normally you’re not that partial. Just don’t melt them too much or you’ll burn lips.
Camping Tips For Women
- Take some talc. I am reliably told by my better half Lisa that talc is an absolute must for camping. Baby wipes come a close second apparently. It helps get her and the kids dry reliably and quickly, especially their feet and also smells lovely. Also she sprinkles talc throughout her hair on night one…stick with me. This helps to absorb and slow the build up of grease. Come the morning a shake of hair will remove excess talc. She can also avoid having to wash her hair everyday whilst camping. It also means avoiding washing hair in the communal shower block.
- Take a pair of sunglasses. Not just for the sun but they also disguise having no makeup on and they look cool!
- Braid your hair. Put your hair in braids/plats for the day you arrive if you have long hair. As well as looking fairly Bohemian and outdoorsy once you let your hair loose the following morning you’ll have a good hair day without any styling or electrical devices.
- Camping alone. If you’re camping alone for reasons of safety you might want to make your site look like you’re not alone, you can put 2 chairs out etc if you’re backpacking this is a little more difficult but read the advice in our solo camping post.
Wrapping Things Up
My last camping tip for beginners is simply to enjoy yourself and have fun, learn from the experience and the next time it will be even better. Oh and when your 5 year old pokes a hole in the tent, knocks the stove, trips over a tent peg for the 9th time, doesn’t wipe their feet when they enter the tent then chill. Just chill, have a slurp of beer or whatever your poison is and remember why you’re there.
Got one of your own camping tips for beginners? Or think you’d like to improve and refine one of the above? Then please let us know in the comments below.

Eight years ago, I took a risk and left a miserable office job to follow a lifestyle career that involved my love for the great outdoors. I’ve taken my love for camping, hiking and travel to the next level by running my small campground with a friend near Portland, Oregon. It’s for way less money but this has truly been a dream come true and the running involves lots of family and friends.
The next evolution of that was to get online and start allcampingstuff.com. At our campground, I spend a lot of time setting up camping equipment for customers and disposing of the garbage products they leave behind. If I can help just a few people with advice on good camping gear, then this website venture will be worth it.
So, if you want to avoid the duds and spend your money wisely you’ve hopefully come to the right place.


Lint from the filter of your laundry dryer makes great tinder. It responds well to a flint and steel lighter or a sun magnifier as well. Remove it from your lint filter and store it in a sealed Zip-Lock type plastic bag. It’s lightweight and compressible, so it won’t add much mass to your backpack.
That’s a great tip Jim, I’m sure others will find that useful, thanks so much.